Mushroom Lamp v2
Check out this project’s GitHub repo for more details on how the code for this project is organized!
Overview
I wanted to take what I learned from my first little mushroom lamp and build on it using the same Adafruit NeoPixels I used in the baby book. I was inspired when my friend, Becca, told me that her middle school class was very into mushrooms this year.
This project is an ESP32-controlled interactive lamp featuring NeoPixel LED chains and a capacitive touch sensor (TTP223B) as the primary input. The lamp supports multiple lighting patterns, such as an organic randomized “breathing” pattern and a cascading rainbow.
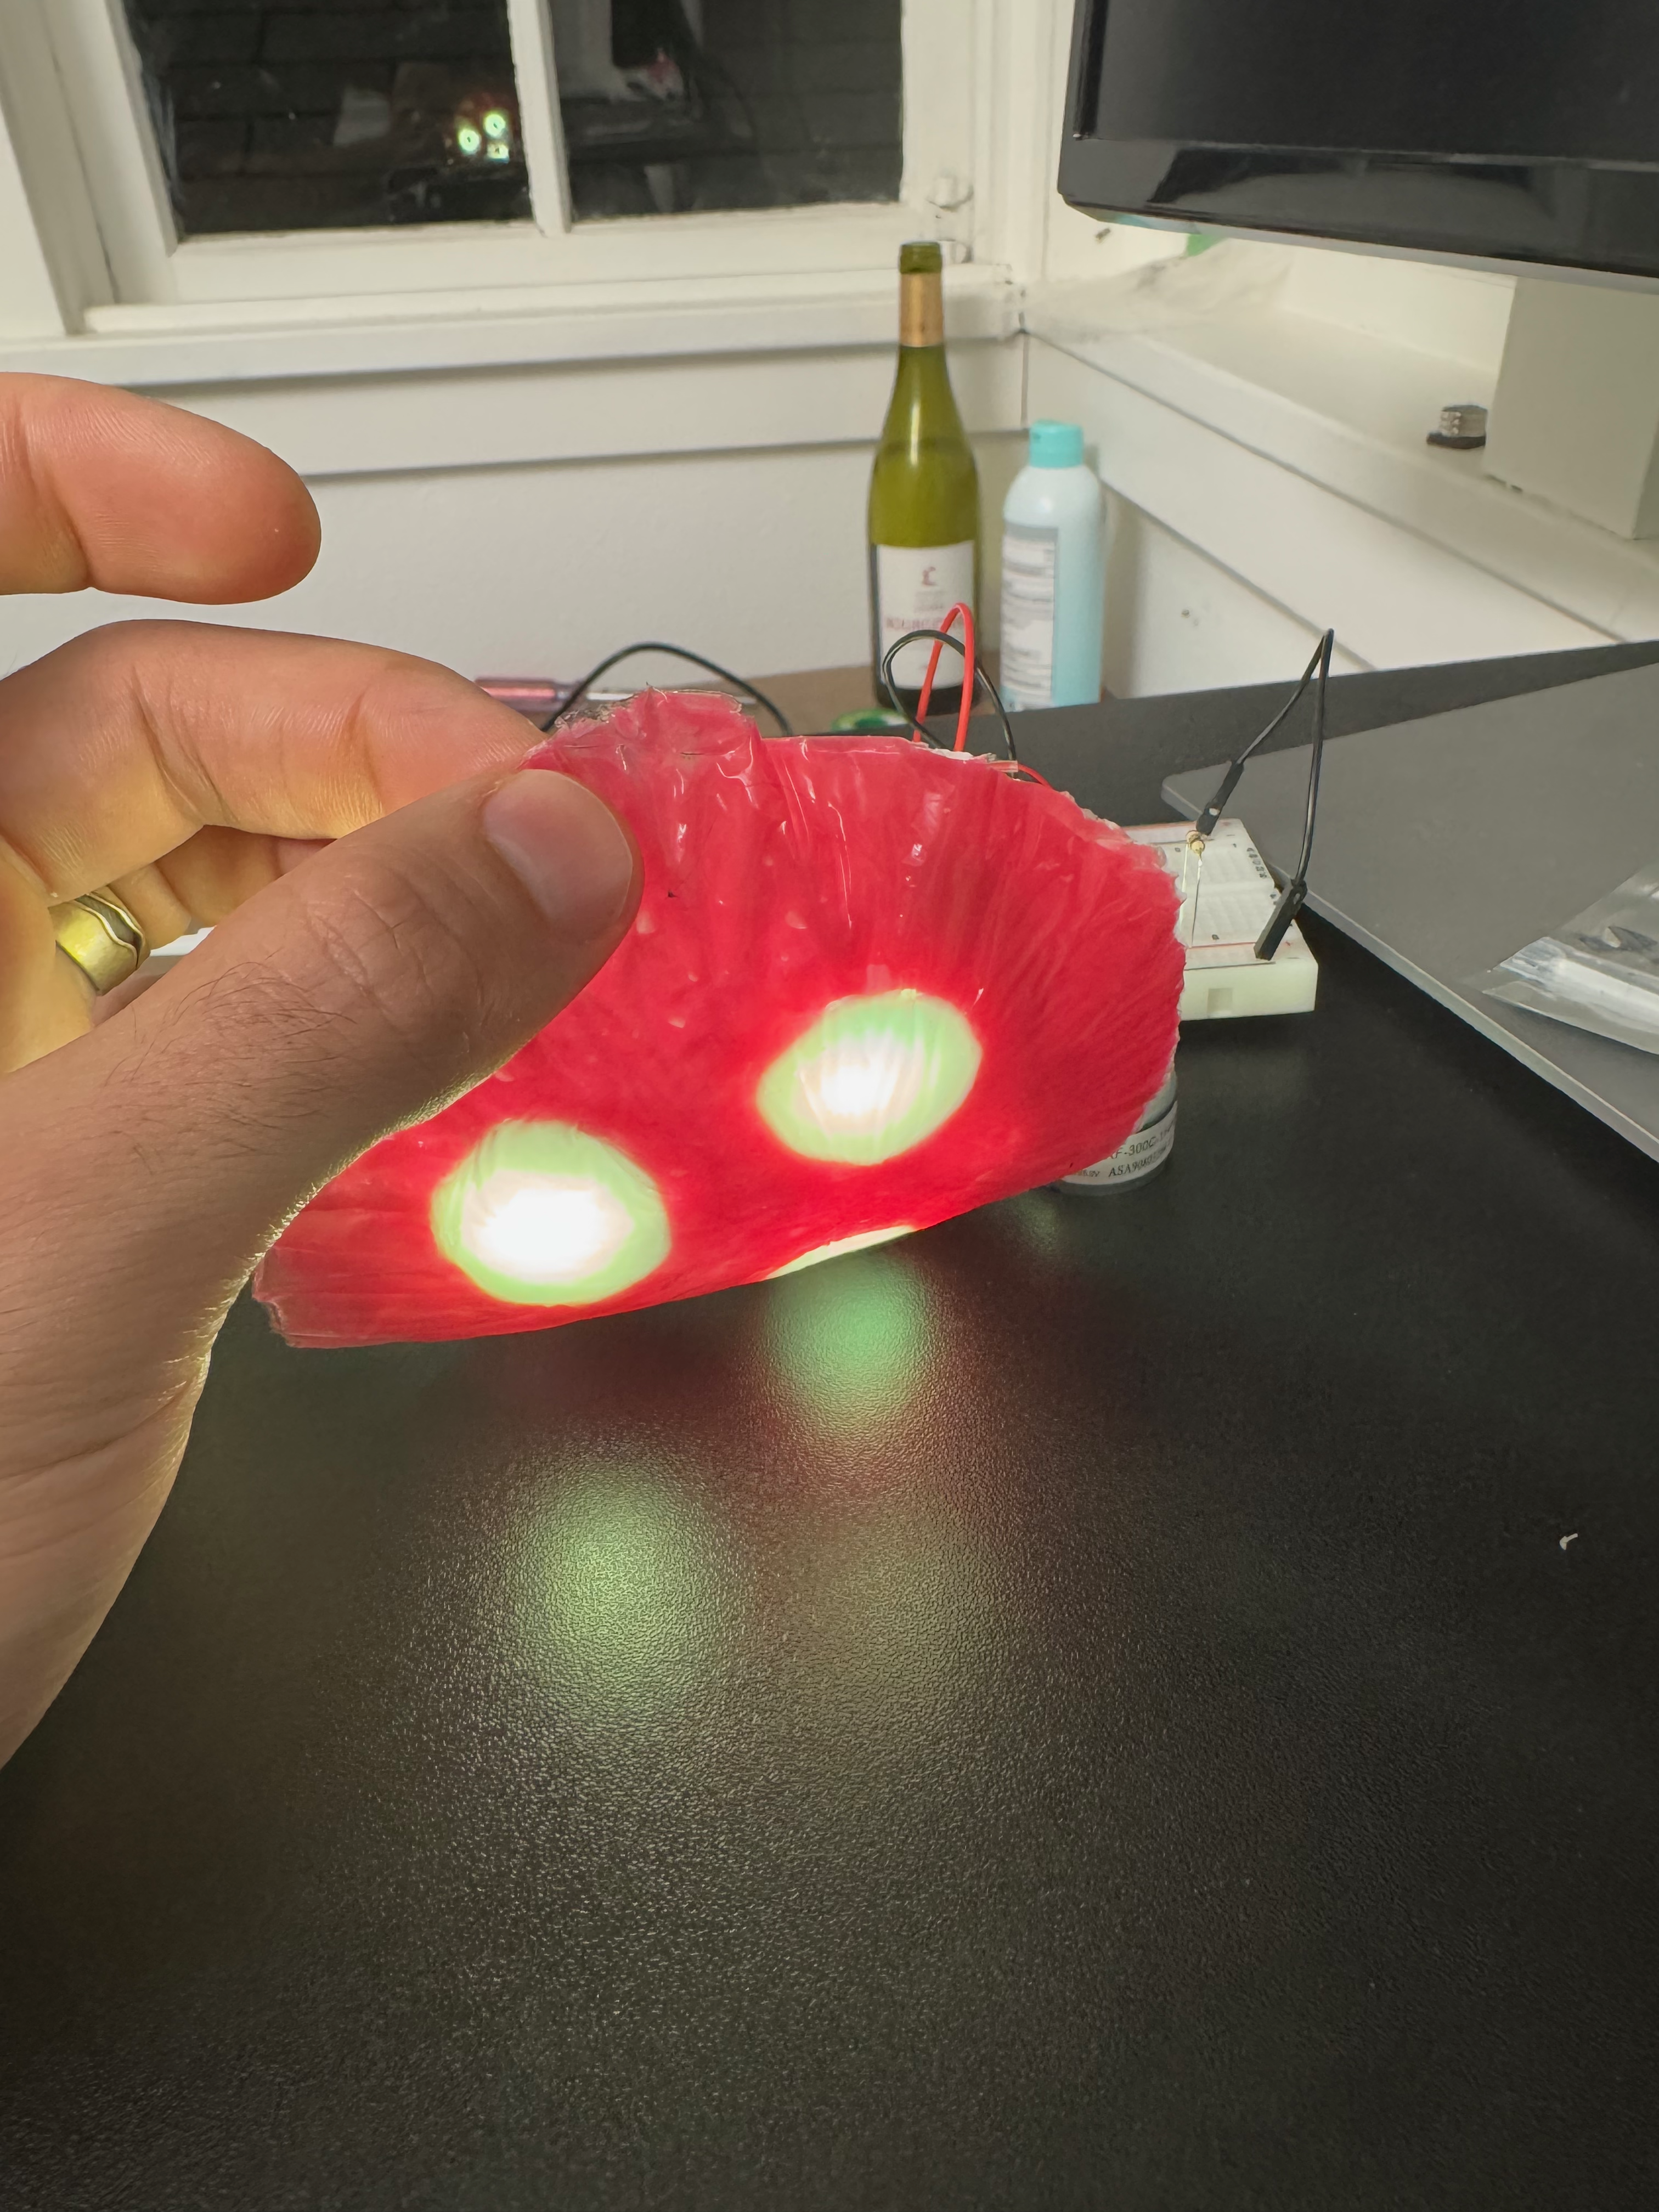
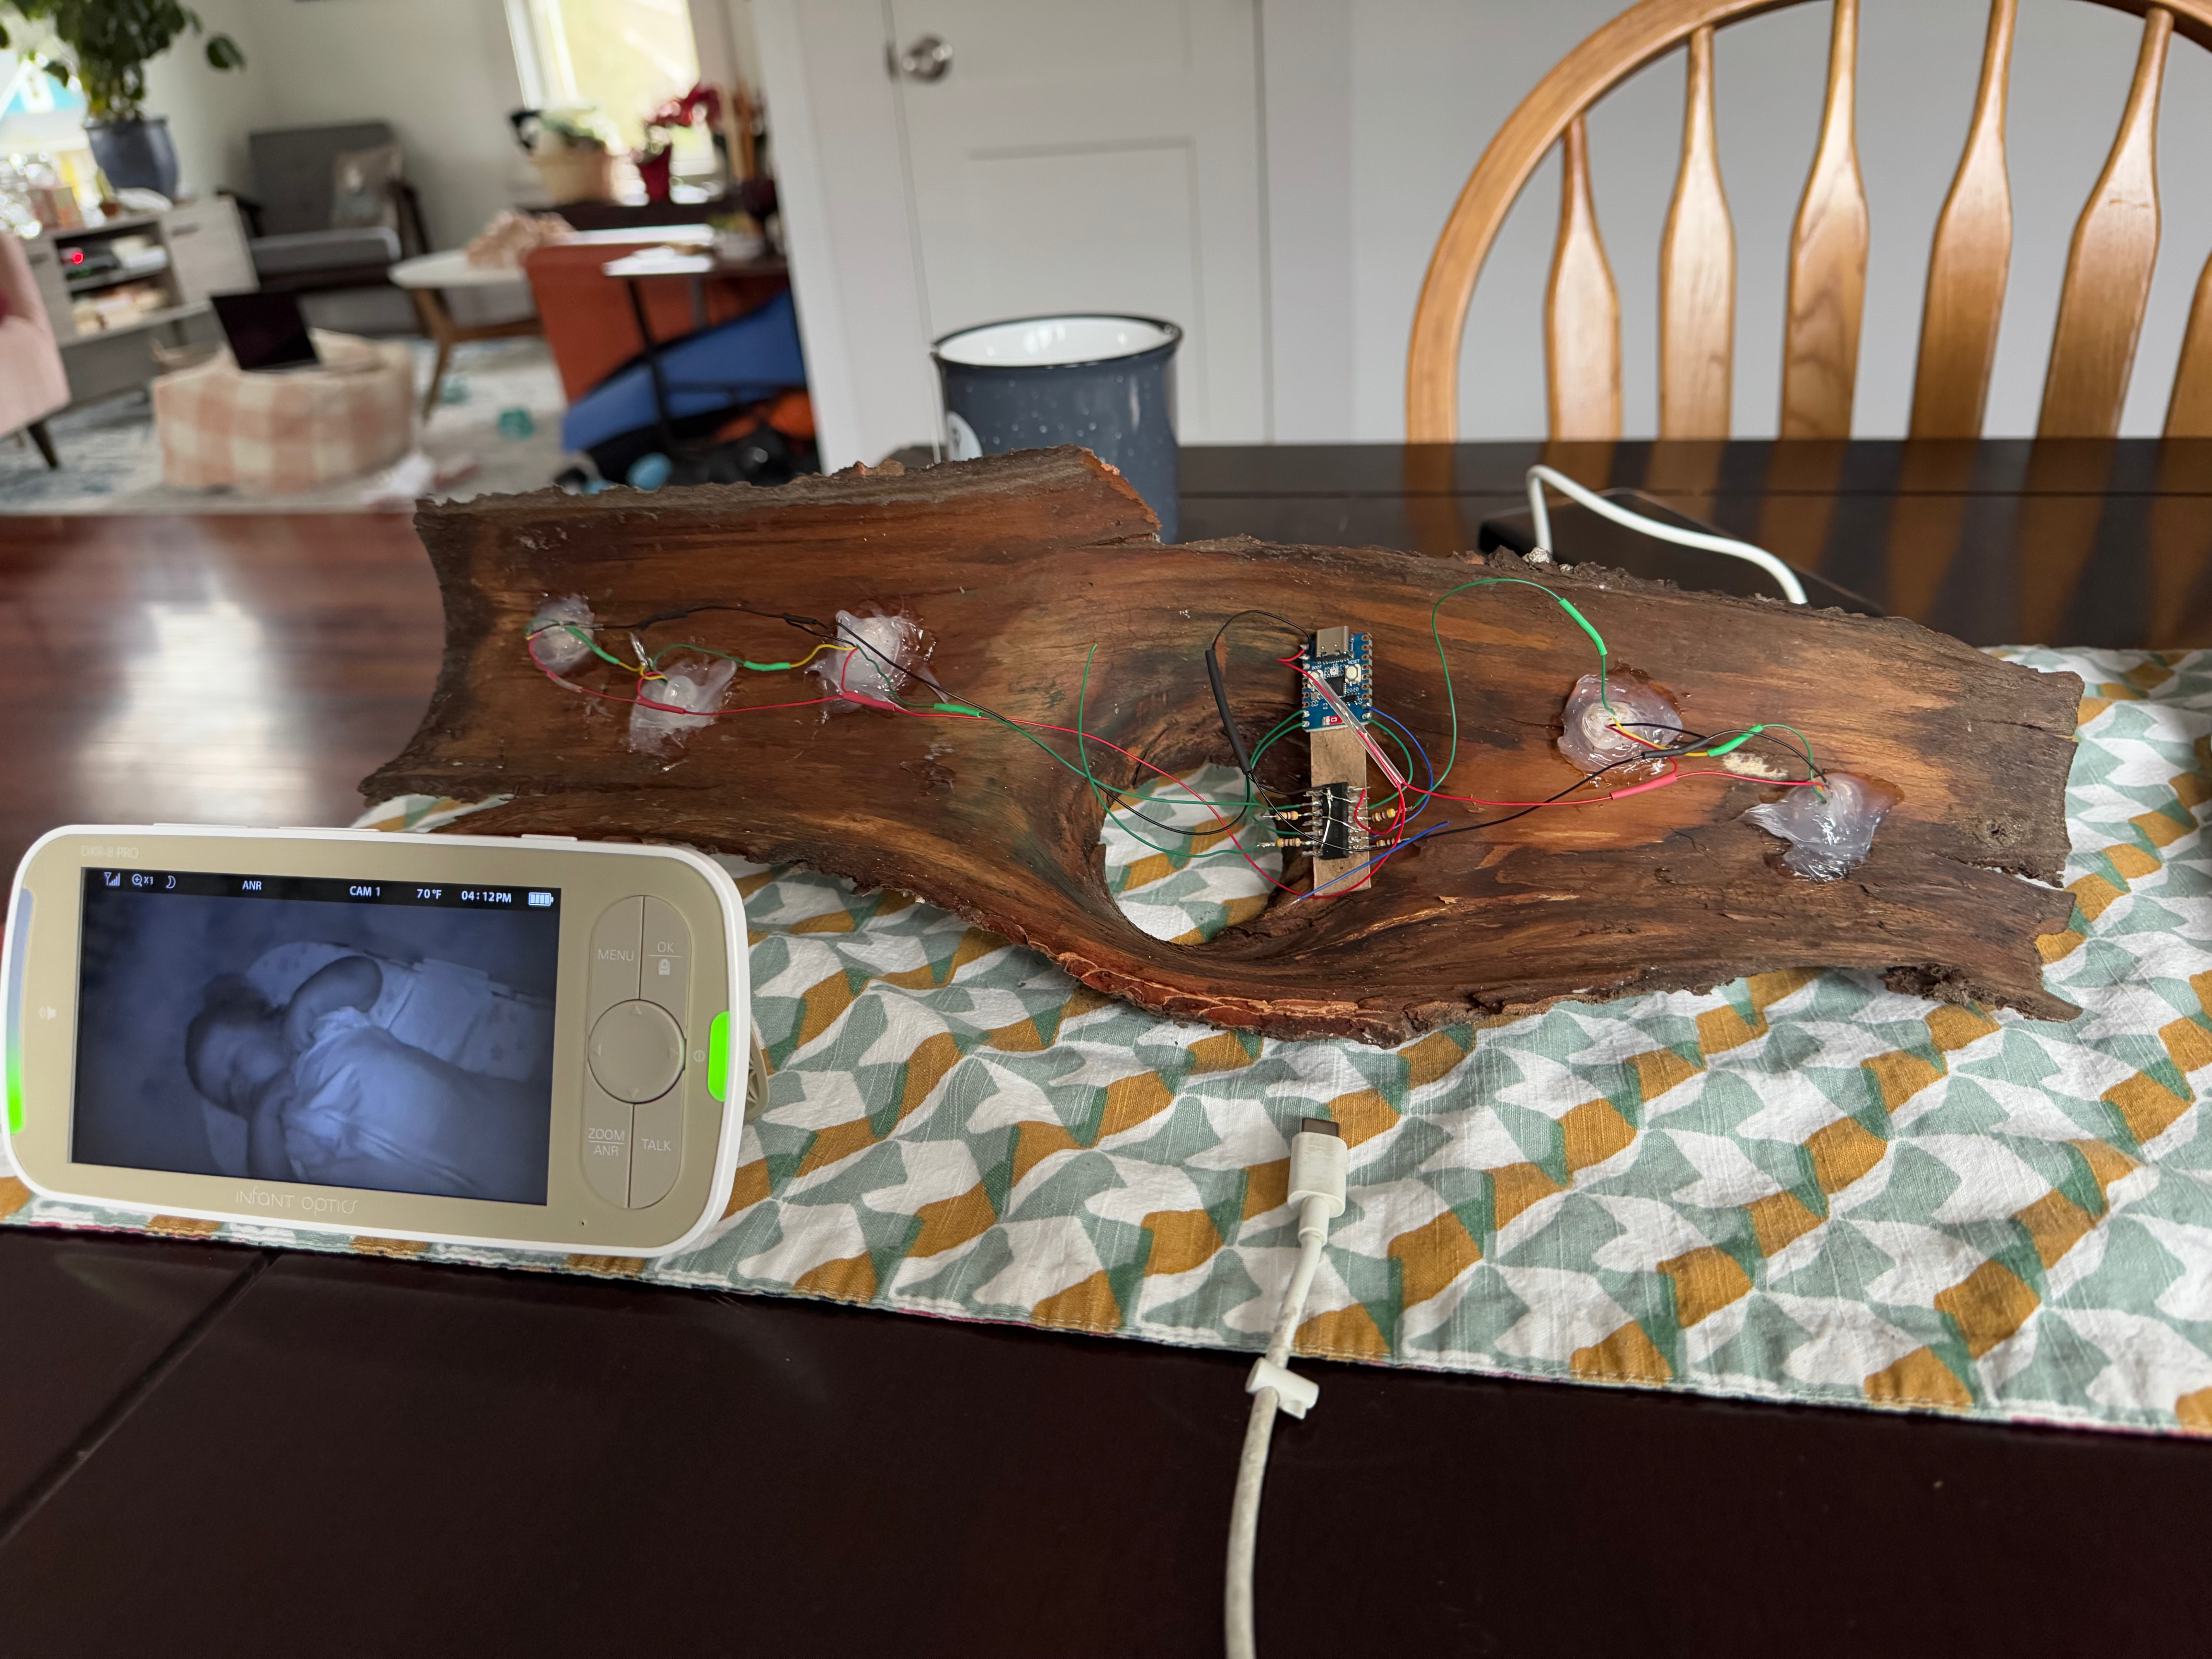
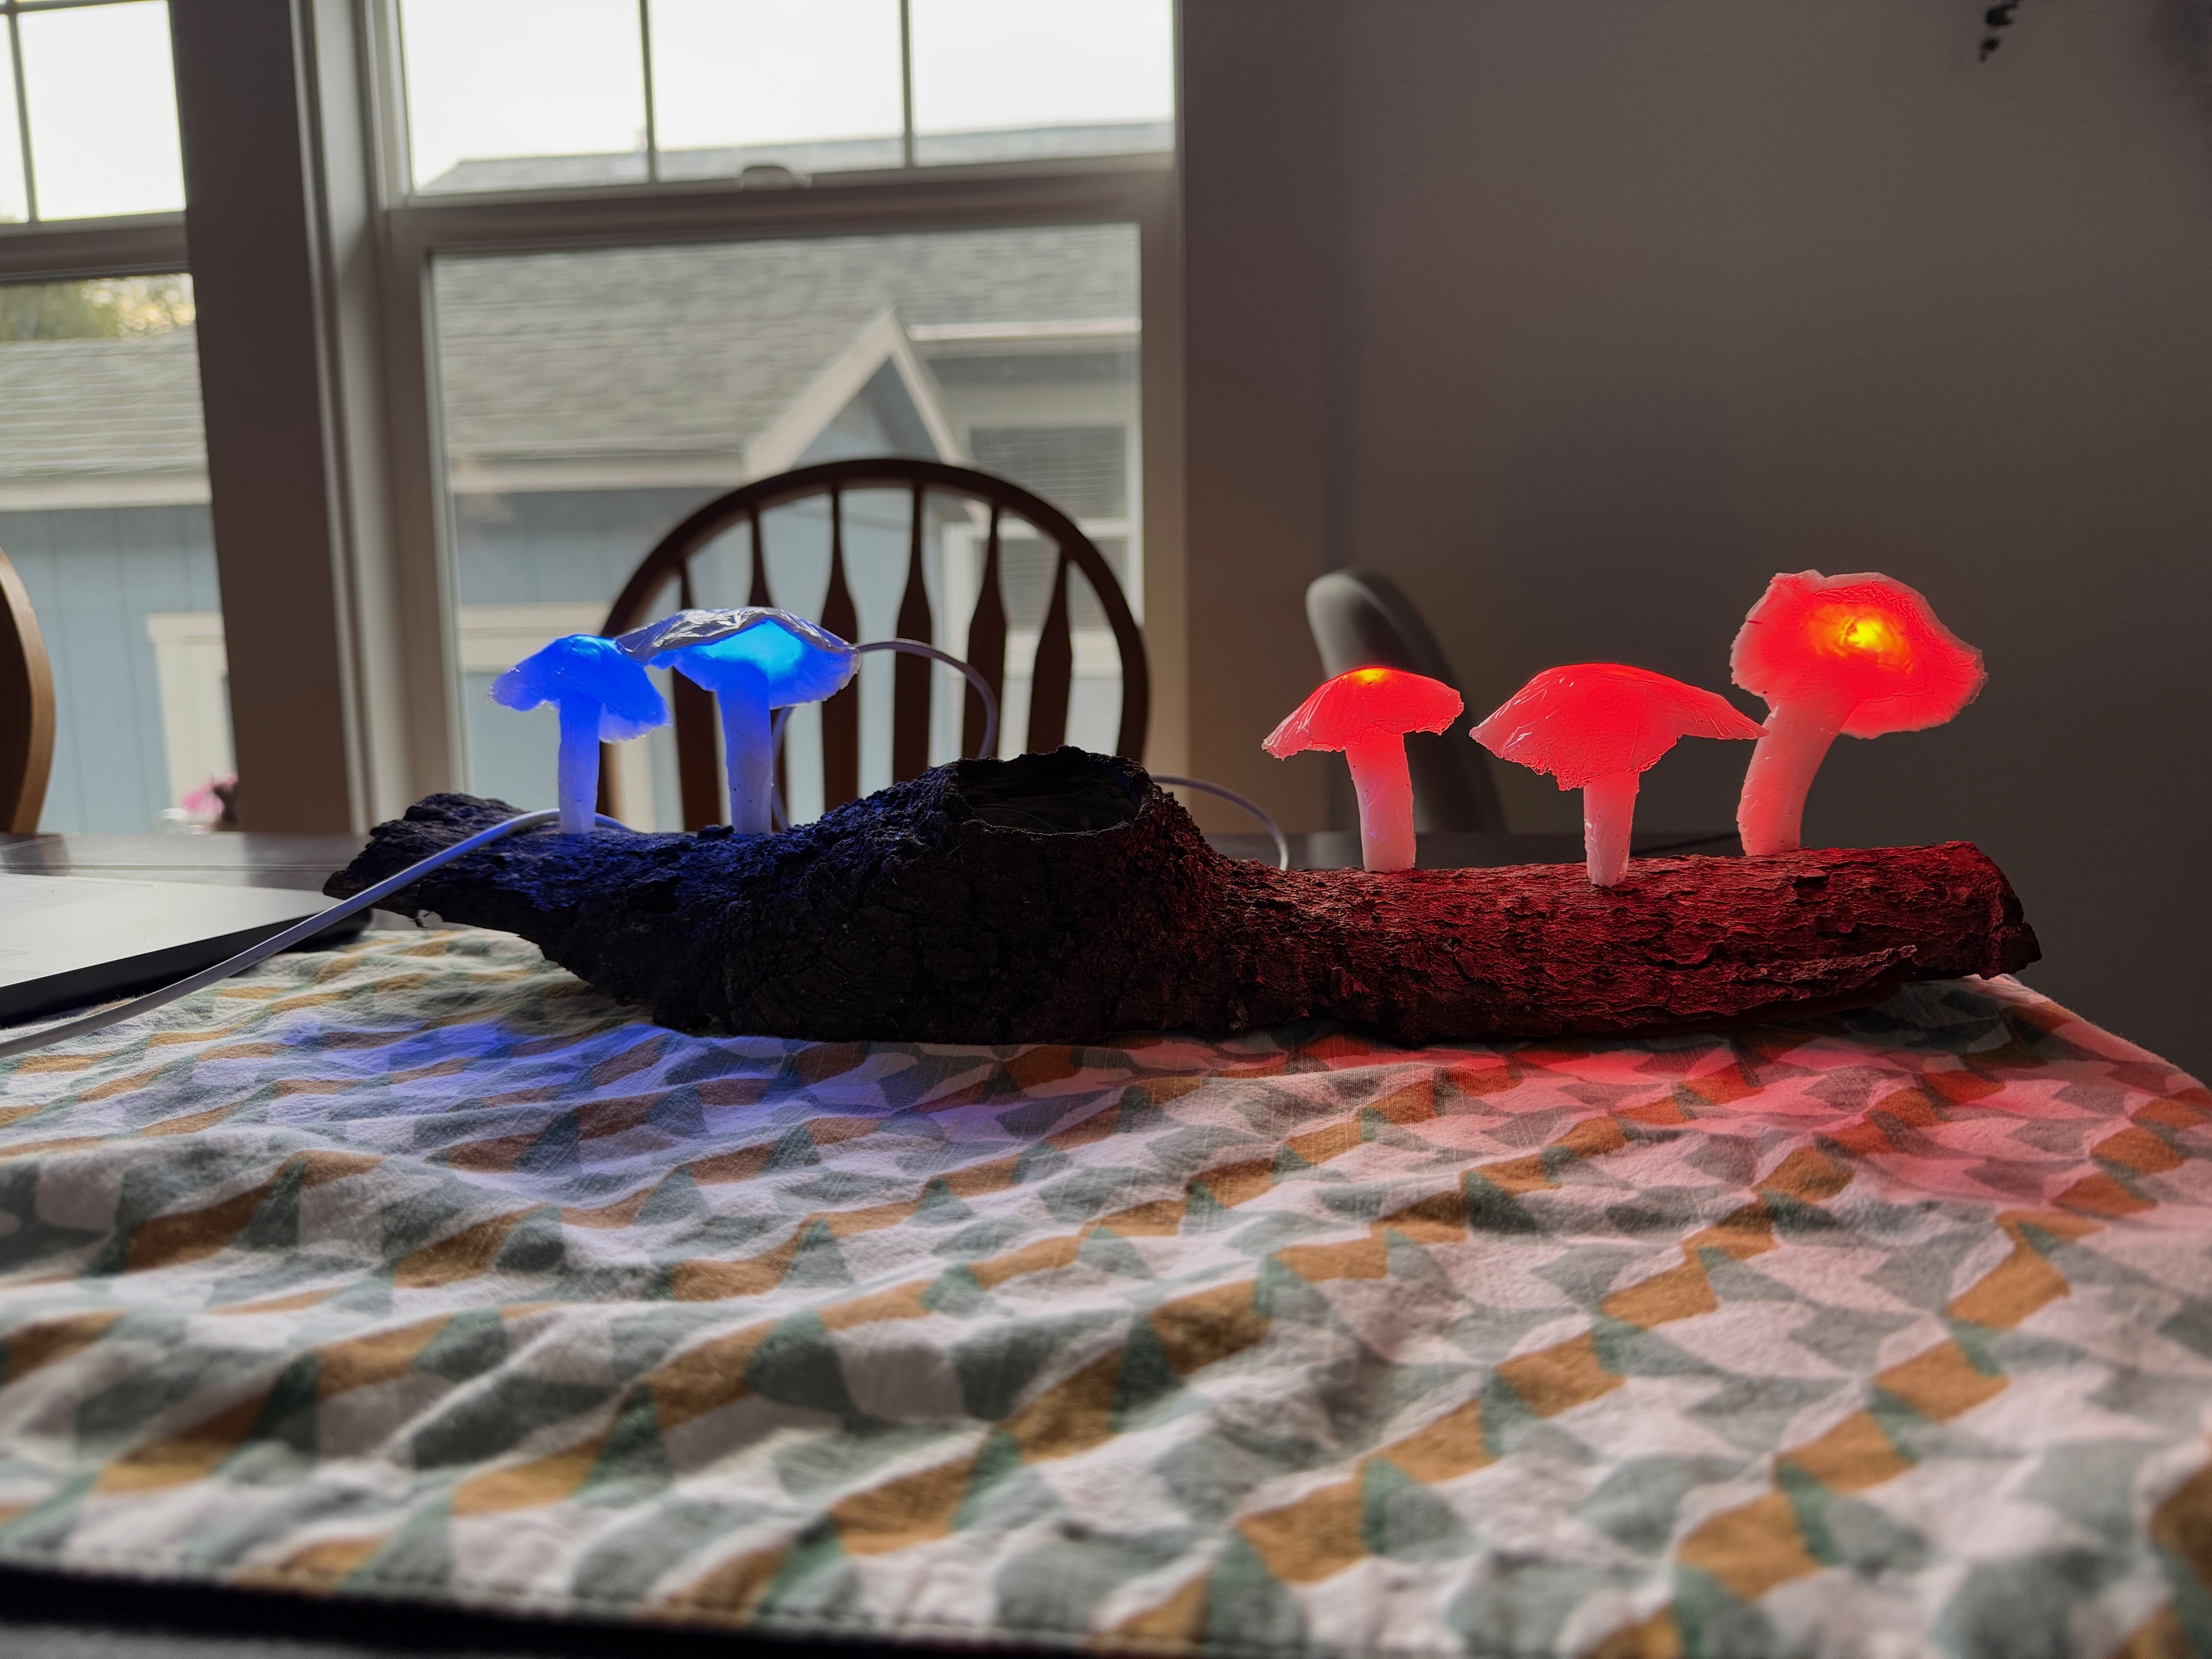
I embedded a series of AdaFruit NeoPixels in a series of “mushrooms” consisting of shaped silicone caulk. These mushrooms were installed on a piece of bark (found on a log in my backyard) and made to look as natural as possible. A central dome mushroom contains more NeoPixels and an LED strand that I think looks very cool.
The whole project was donated to Becca’s classroom for interactive learning about hobby electronics.
Materials & Components
- A piece of bark (found in my back yard)
- Silicone caulk sealant
- Silicone dye
- Adafruit NeoPixels (RGBW makes for a cleaner white)
- An ESP32c3 supermini microcontroller
- A level shifter and 470 Ω resistors (for the NeoPixel data lines)
- A button (scavenged from a broken clock and selected for its very satisfying thunk)
- A 10 kΩ pull-up resistor for the button
Assembly
Still working on this page
Code
The control function I decided to use for this project was taken nearly exactly from the baby book project. This function takes arguments for position, red value, green value, blue value, and white value – and then determines which NeoPixel to apply the RGBW value to.
At heart, every pattern just applies this light function in different ways. The really tricky part was getting the loop to recognize when the button was pressed. I needed to learn about the Interupt Service Routine, and use it to respond to button presses. A second big challenge came with the discovery that the button I chose had terrible debounce behavior – as is probably obvious in the “final product” video above, the button only registers like 1/3 of the time…
There is a global counter that increases with each detected button press (mod arithmetic rolls it back over when the count is >5). This counter feeds into a function that plays the appropriate pattern (setPattern()). Each pattern loops infinitely, but checks the value of the counter at the start of each loop – if the button count is different, the pattern breaks and setPattern() determines which pattern to display next.
This was the first project which I broke the config, helper functions, pattern functions, and main setup/loop into separate files – I’ve been struggling with the baby book project because the single-file organization is difficult to navigate! It’s likely that I’ll go back and separate that project out into similar components in the final version.
Future improvements
I’d plan out my wiring a little more carefully… I didn’t strictly need to separate the NeoPixels into three chains, but it made sense at the time.
I’d also improve how I attached the top of the central giant mushroom to the bottom – I didn’t leave myself enough material to comfortably trim at the end, and the back is quite messy!
In theory, this lamp has the capacity for bluetooth and wifi connection – it would be cool to set it up with HomeAssistant so it can be controlled remotely. The GPIO pins of the ESP32 are also easily accessed, and it wouldn’t be difficult to add a light sensor or a microphone to make the lamp more responsive to the environment.